
Why Stacking Your Joints May Be Harming You
A Practical Guide to Sustainable Wrist Alignment & Loading
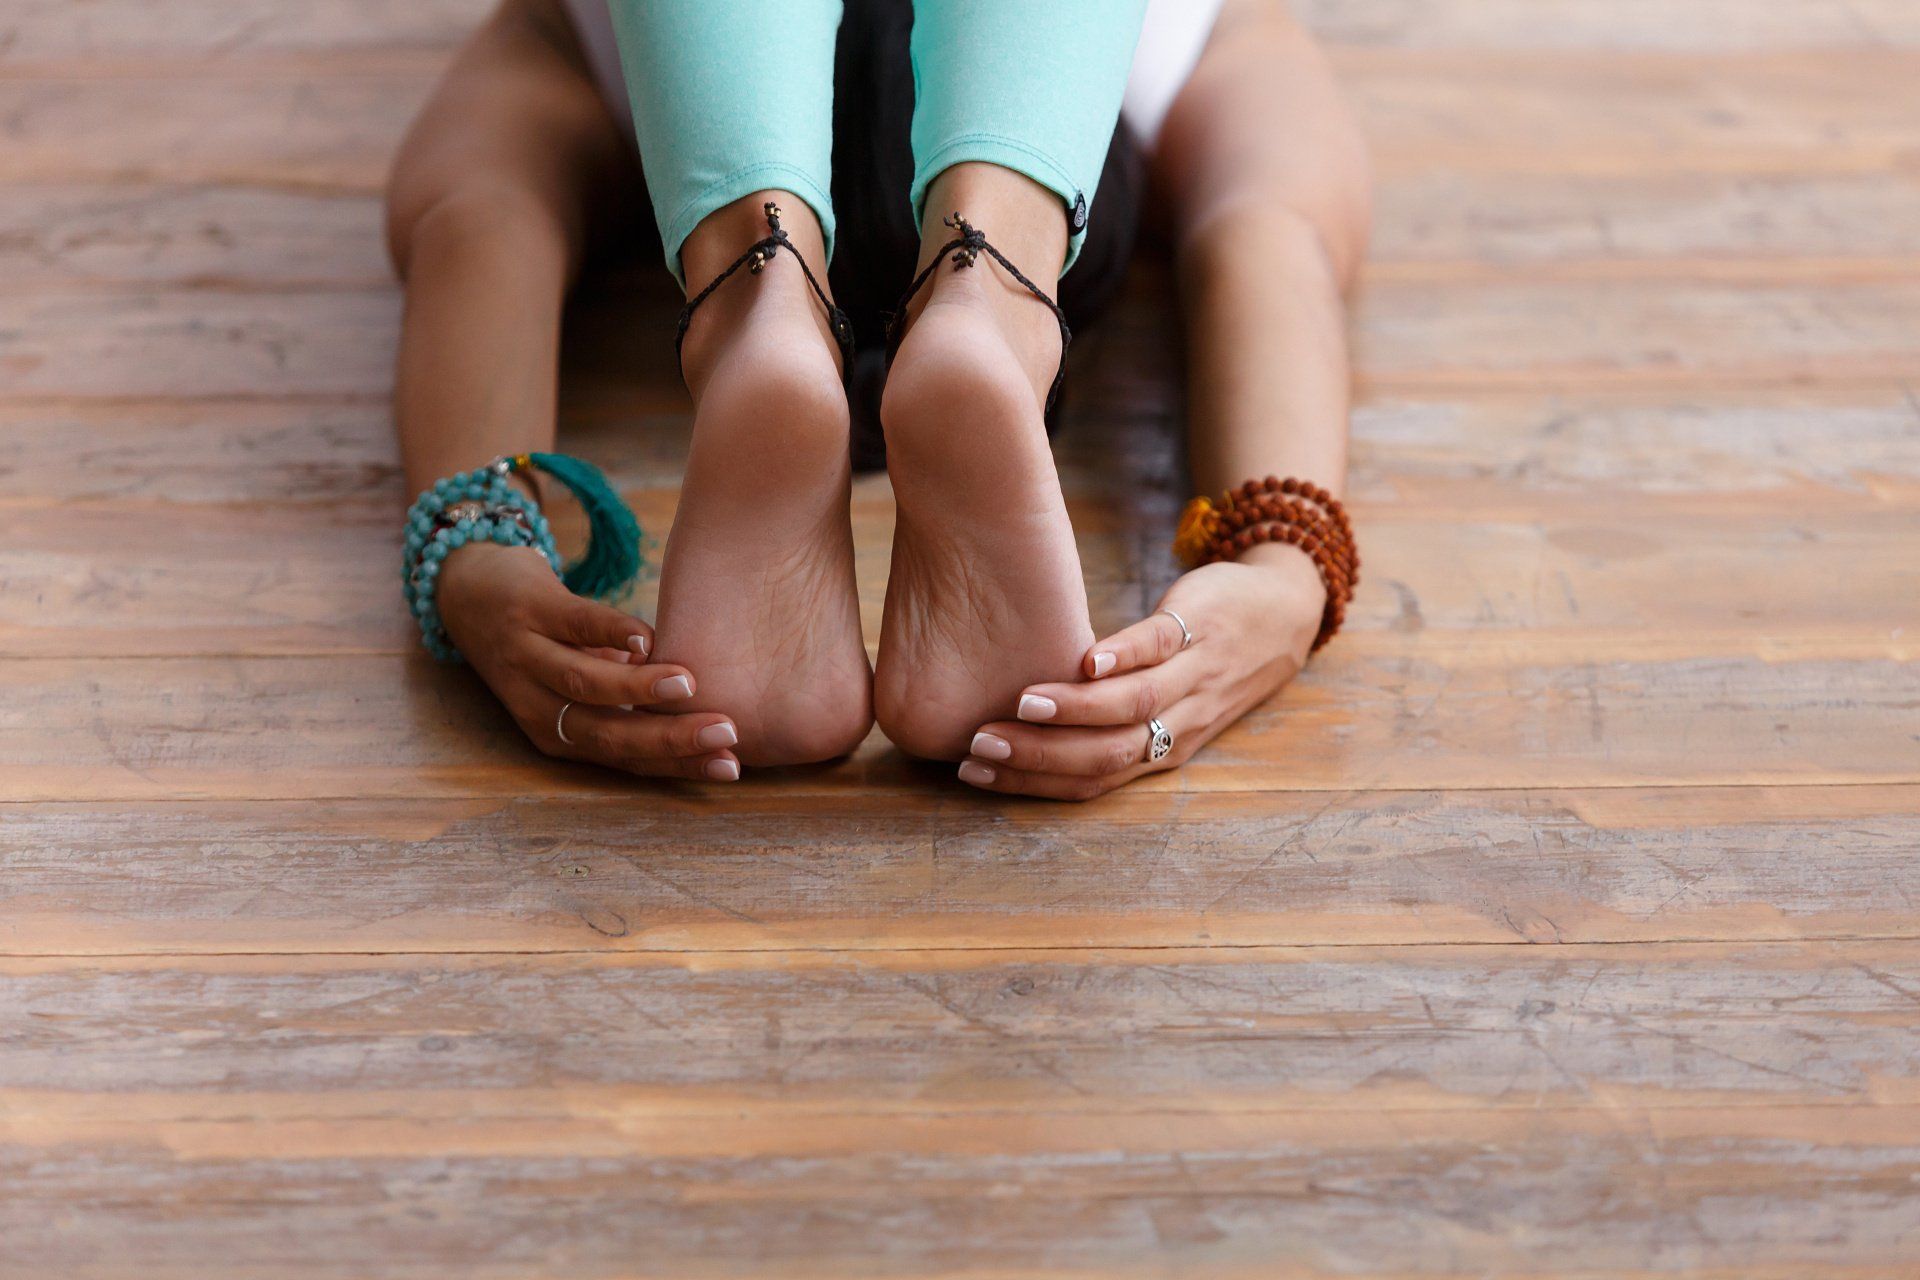
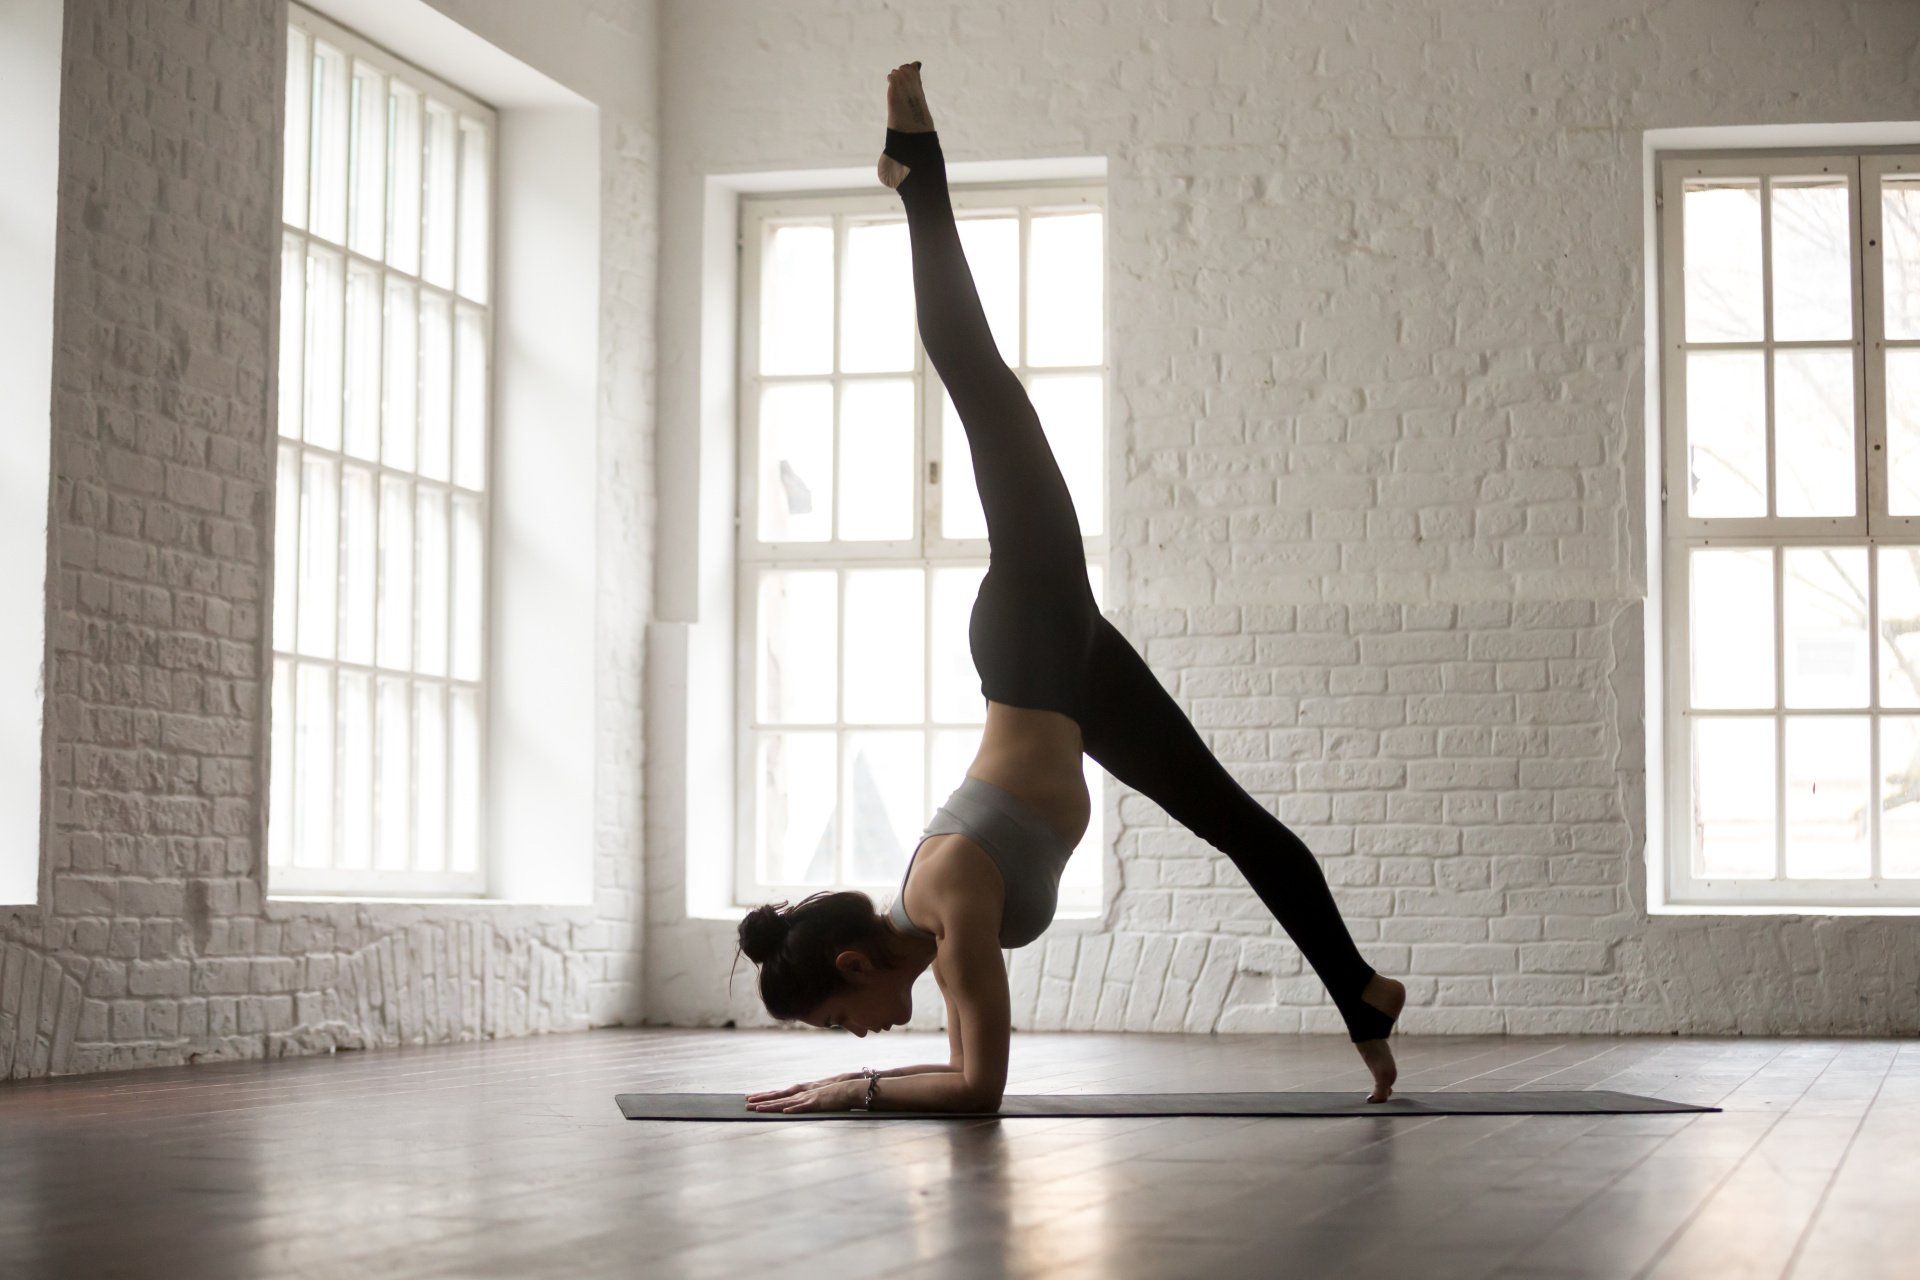
The wrists and shoulders sustain us in asana in ways they don’t typically in daily life. They aren’t truly designed to do the things we do in yoga asana. Yet we persevere; downward facing dog, plank, Chaturanga, handstand. As a teacher, I often hear students talk about the pain or weakness in the wrists that can be aggravated instead of relieved by their yoga practice. These may not be injuries which get accurately reported in the medical records (and therefore in the statistics), but they are pains which will keep students off their mat and out of your yoga classes.
In my view, there is a specific cue that is the likely culprit of most student’s continued wrist woes: “place your hands under your shoulders.” Now, this ubiquitous cue seems innocuous enough, and also seems logical if you’re a teacher who believes that “stacking the joints” is a secure and stable place to begin building your postures. I won’t argue that this notion is sound, but I will assert that most of us don’t define the stacking of the joints accurately--we assume that the joints are straight and therefore will stack in straight lines. That, however, is rarely the case.
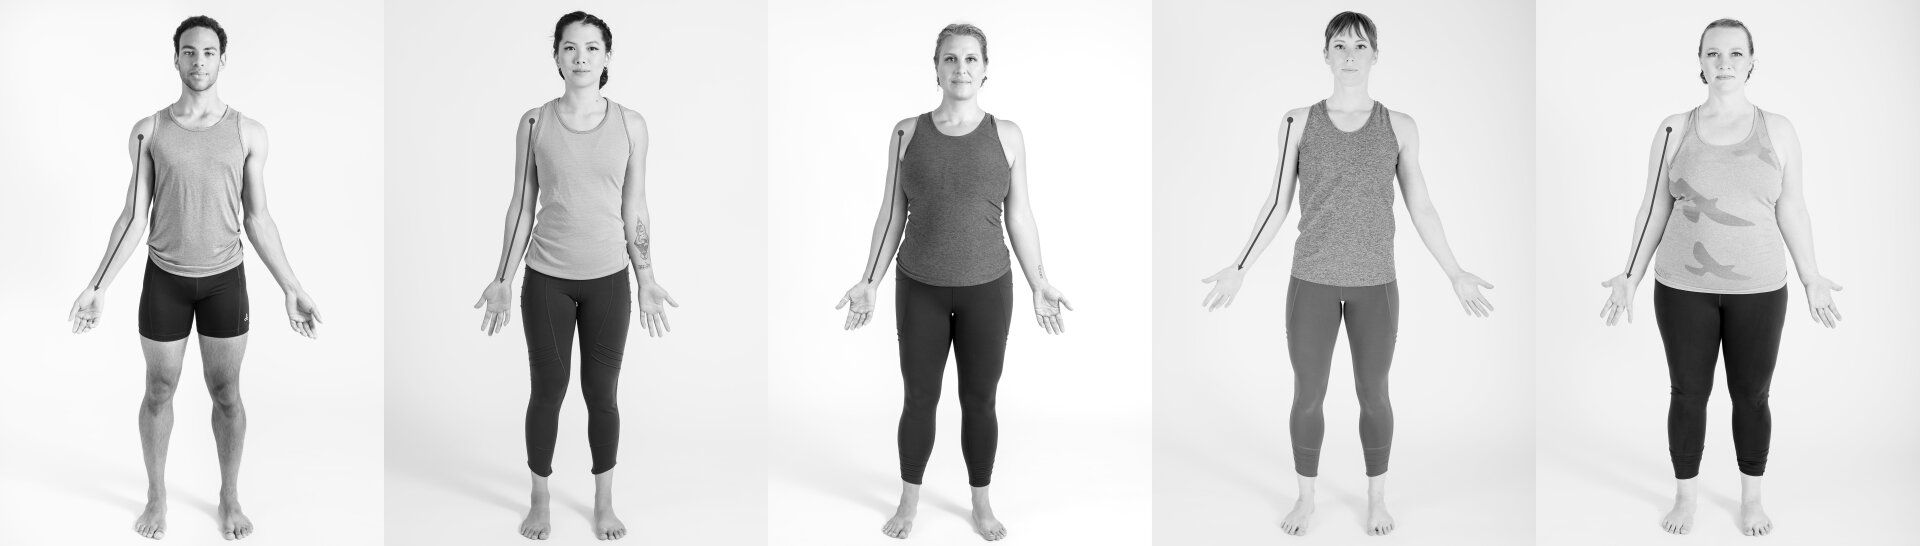
Let’s look closer. With the elbows hanging directly under the shoulder joints, as in Mountain Pose (Tadasana), this angle sends the hands much wider than the shoulders and changes the direction the fingers point. With a neutral wrist, they no longer point directly at the ground, but instead they point off at the same angle that the forearm does. All of these observations should lead us to a singular conclusion: Neutral is not defined as straight.
Logic would state that if Mountain pose is the blueprint for all yoga poses, then the arms in Mountain should be the blueprint for the arms in all yoga poses. In addition, if the joints are shaped in such a way that they do not stack in a straight line in Mountain pose, why would we think they’ll stack in a straight line in any other pose? The truth is, many of us have been trying to cram our bent elbows into straight lines in all of our weight bearing poses, and this alignment is ultimately contributing to misalignments at the wrist and shoulder that cause damage in the long term.
The shift I’m about to suggest will not be an easy one to incorporate, after all, long-held habits are hard to break. It will be worth it though, especially if you’re a practitioner who experiences wrist weakness or pain, pain or strain in the shoulder muscles, or never quite feels comfortable in postures like Plank or Chaturanga.

See Your Joints As They Are, and Act Accordingly
Stand in front of a mirror in Mountain pose. Observe your own carrying angle. Notice that if your shoulders, chest, and upper back are active and broad, your elbows will hang just below the Deltoid muscle at the front of the shoulder, not below the crease of your armpit (where most of us actually align our hands for Plank). Next, observe the actual width of your wrists and the direction of the hand/fingers. Make sure that the elbow is extended without locking out, and the wrist is not pinched on either the thumb or pinky side. Notice the difference in the width of the shoulders and wrists without judgment; there is no “too wide” or “too bent” or “too straight”, there is only the fact of your joints.
Now, this is the tough one: bend your elbows. Bending them isn’t tough, but bending them without subconsciously internally rotating the arm is. You’ll probably need to fight the urge to bring the hands toward midline, but it's important that you maintain neutrality in the shoulder (biceps facing straight ahead). If you do this, when your elbows bend you’ll see that the forearms continue to point outward and so do the fingers. Observe this and absorb it. This is the reality of your joints.
Here’s the last tough one: pronate your forearm so the palms face the floor. Do this without compensating in the shoulder or the wrist--maintain the line from the elbow straight through the wrist and fingers without deviating in or out--this is the only straight line we’re really trying to maintain. This final position is how wide your hands will be when you place them on the mat. Every. Single. Time. There is no need to try to point the middle or index finger straight ahead, that will only cause tweaks in the medial or lateral wrist and dumping into the carpal tunnel.
This is your new neutral, your joint’s home base. This is the position from which you’ll earn the most efficient strength through efficient joint alignment. It’s likely that you’ll feel odd at first, but not “bad”. It’s also likely that after a few tries, you’ll notice less pinching in the shoulders, and maybe even easier access to muscle contractions that support your core. It’s possible that you’ll feel stronger and more stable as you move from Plank to Chaturanga--once you get used to the newness.
Hint: You can pace pieces of tape on your mat at your new width to add a visual cue until this position feels more natural.
Love what you read!?
Learn more by purchasing Richelle Ricard's new book!
Author: Richelle Ricard
Richelle is one of SAYF's esteemed Advisory Board members and a brilliant yoga educator when it comes to anatomy and biomechanics. You can experience her classes and trainings in Portland Oregon and around the world!